Image Generation AI
In project post I want to talk about some software I have been using to generate images with AI. I did have a long intro to this but realised it's better to jump into what I have been doing, my workflow, and some interesting things I got out of the process.
Stable Diffusion
Stable Diffusion is the main software that I have been using along with a few other tools that I will mention as we go along.
Stable Diffusion is fairly different to most other image generation tools as it is run locally on a personal machine and not in the cloud like most others I know of, like Adobe Firefly, Dalle, or MidJourney. The advantage of this is that I am able to interact with the generation directly using python code, as well as get access to a huge amount of settings and variables that control the model.
Getting started
Early on I was finding out how the software worked and getting my environment running smoothly. I don't really have much to add here other than a quick overview of the setup.
The basic code all runs in python, however making it easier to use I added in a UI to change settings and submit jobs. I went with the most popular UI available called A1111 (A-eleven-eleven) which is based on the python library Gradio. There were a few hurdles to overcome in the setup, but this really came down to getting the correct versions of the dependencies installed, which as this system mostly runs on the GPU needed a little finagling based on what OS and graphics card my system was running.
Once up and running with the right libraries, there are a whole list of possible values to change and play with. This is one of the huge strengths of Stable Diffusion, very few of the cloud based generators expose even a fraction of these settings to control the model.
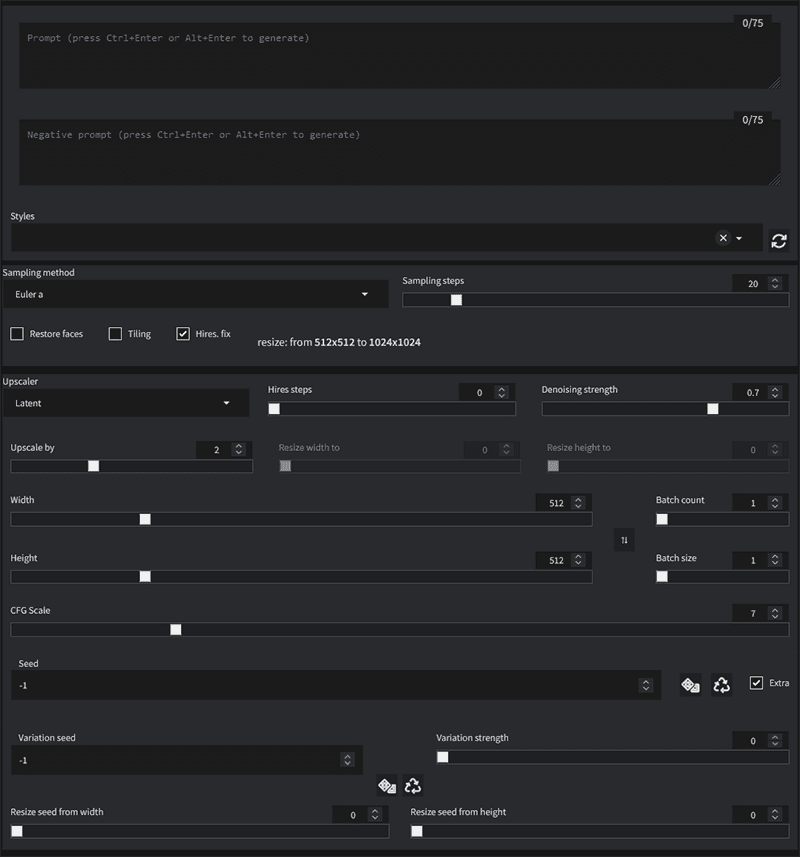
It was a few days worth of research and experimentation before I had a fair handle on most of these controls. But over time I worked out what was what and began to gain control over the process.
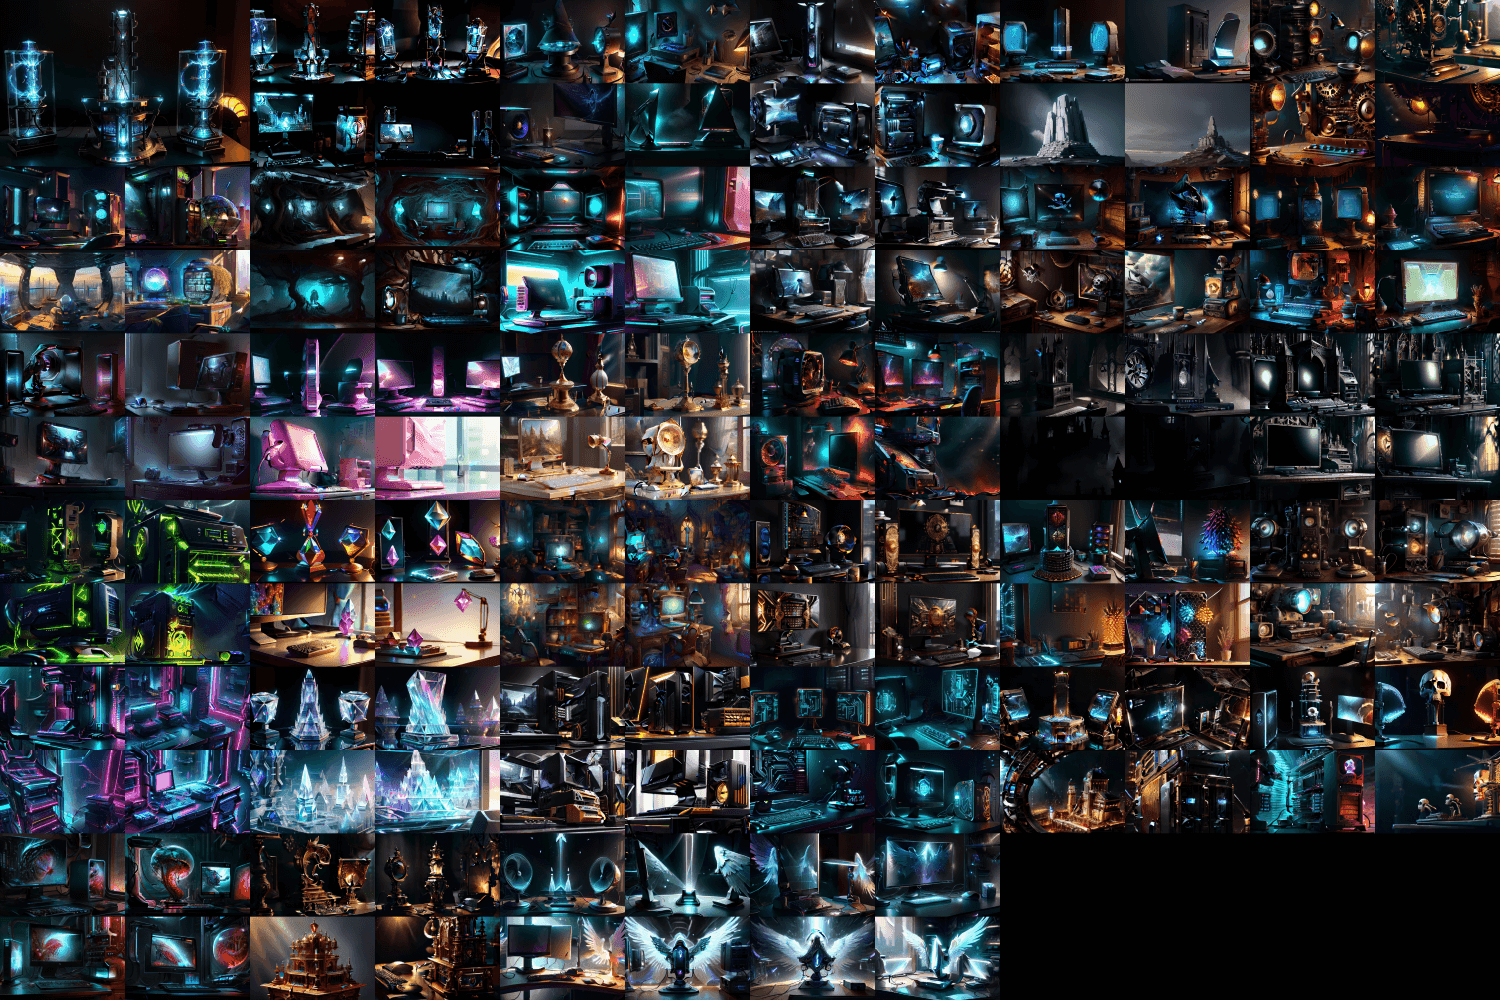
Here are a few samples of my failures and experiments while I was learning;
Without careful guidance and good use of the right configuration, things go off the rails easily, making abominations and misshapen horrors.
Looking good
After these teething problems I learnt how to control the process, things started to look much better. Without explaining every control, the main trick is sticking to generating images that are the same dimensions as the models training data, usually 512px square, and then doing a second pass with an upscaling algorithm to get the image to the size you want it at.
Once upscaled it then depends on the image, but generally I will make any touch ups I want using Photoshop. Then I will return to Stable Diffusion and feed the image back in and do a pass that uses the image as the input data, with a very low 'denoising' value, which means that the output image will be very similar to the input. Doing this additional pass with Stable Diffusion helps a lot with adding additional details, sharpening, and incorporating any manual edits.
Being able to generate images of a decent quality, I have begun to find uses for the final images in my workflow. The use I have found most helpful has been placeholder images in UI designs I'm working on. I can generate very representative images to use to design around.
Out and inpainting
Recently Photoshop has released a new AI powered feature that allows for sections of an image to be replaced by AI generated pixels. On it's own this effect is fine, but suffers from many of the issues of the earlier server based image generators. Notably being very poor at peoples faces and hands. Anecdotally I have also noticed that it frequently decides I have generated something that violates their terms and doesn't return the results without much more explanation. I've seen no real consistency on what triggers this reaction.
What this feature has made really easy is manipulating existing images and most notably expanding off the edges of an existing image. This ability has given me far more control over placement and composition of my generated images output. After the initial generation in Stable Diffusion I can use Photoshops generation features to reframe and tweak the image as needed, before returning it to Stable Diffusion for upscaling and finalising.
This workflow has proven really powerful at generating more interesting complete scenes with varied subjects.
Plugins
One of the major advantages of Stable Diffusion is that it can be extended with python scripts very easily. I have downloaded a handful, but also spent some time working on my own scripts.
The one I spent the most time on was a script for generating transitions between multiple prompts resulting in a video that shifts from image to image.
The main idea at the center of my script was to feed each image generated in as the input for the next images generation, and then vary the text prompt over time so that the image shifts steadily but maintains enough consistency frame to frame to result in smooth video.
To achieve this effect there were a few hurdles to overcome. The first being how quickly the image was being changed, you may notice in the video above, the morphs occur in bursts, it changes quickly and then stabilises, changes quickly and then stabilises, in a loop. This is done to allow the viewer to be able to keep up. In the naive approach where the change is at a constant speed I found it was a blur of motion and the viewer was not able to make out any details. So I changed my script to run with a sine wave driving the change amount.
# 'frames_per_wave' is set in the Gradio UI defining the size of the sine wave in frames
# 'denoising_strength_change_amplitude' is set in UI to control the change rate, i.e. the amplitude of the wave
# 'denoising_strength_change_offset' is set in UI to offset the sine wave some amount of frames to better align with the prompt changes
# 'p' is a dictionary containing the current frames settings and 'denoising_strength' is the amount of change done to the input image

denoising_strength_change_rate = 180 / frames_per_wave
cos = abs(math.cos(math.radians(i * denoising_strength_change_rate + denoising_strength_change_offset)))
p.denoising_strength = initial_denoising_strength + denoising_strength_change_amplitude - (cos * denoising_strength_change_amplitude)
The next major issue I ran into was that after about 150 frames the practice of looping the output back into the input was causing a drift in colour balance and in contrast. The colour balance would steadily shift toward orange tones, and the contrast would increase.
I'm unclear why exactly this happened, but I suspect the trained model I was using had a bias toward higher contrast images with a very slight preference for orange. Which you would never notice in any single image generation. It is only with the repeated exposure that the effect compounded enough to become notable.
To resolve this issue I first attempted to colour correct during the output phase of each frame. I would apply some amount of counterweight to both the colour tones and to the contrast. This proved somewhat helpful but the AI was not consistent in the amount of drift, so using a constant value was either under or over correcting in any given run.
Following some experimentation I landed on a solution that would create a plan ahead of time for the entire animations colour values. I created an additional process at the beginning of the run that would take the very first frame and use that to feed into the prompt at several points across the length of the animation with a high amount of change (denoise strength). This creates 'keyframes' for the entire animation that are only a single feedback loop deep, so have basically no colour drift.
I found that there was the chance that some of these keyframes could get a fluke extra colour mixed in where the AI added in some element that was unusually coloured. So to combat this I would actually generate each keyframe four times and blend them together to iron out any variance.
Once I had these keyframes generated, then at the end of each actual frame generation I could calculate the difference between that frame and a keyframe in contrast and colour then correct accordingly. When part way between keyframes I would blend the 2 nearest keyframes by the amount of distance between them, i.e. when keyframes are at frames 20 and 40, frame 35 would blend 25% of keyframe 20 and 75% of keyframe 40 to get it's target values.
def get_cc_target(
    self,
    targets: dict,
    index: int,
    frames: int
):
    if str(index) in targets:
        return targets[str(index)]

    a = 0
    b = 0
    target_a = None
    target_b = None
    alpha = 0.5
    for i in range(frames):
        if str(i) in targets:
            if i <= index:
                a = i
                target_a = targets[str(i)]
            elif target_b is None:
                b = i
                target_b = targets[str(i)]
            else:
                break

    alpha = (index - a) / (b - a)
    return Image.blend(target_a, target_b, alpha)
def apply_color_correction(
self,
target_image: Image.Image,
original_image: Image.Image,
index: int,
axis=2
):
base_image = cv2.cvtColor(np.asarray(original_image.copy()), cv2.COLOR_RGB2LAB)
correction = cv2.cvtColor(np.asarray(target_image.copy()), cv2.COLOR_RGB2LAB)
histogram = exposure.match_histograms(
base_image,
correction,
channel_axis=axis
)
histogram = cv2.cvtColor(histogram, cv2.COLOR_LAB2RGB)
image = Image.fromarray(histogram.astype("uint8"))
image = blendLayers(image, original_image, BlendType.LUMINOSITY)
return imagedef get_gamma_diff(
self,
target_image: Image.Image,
original_image: Image.Image,
):
base_image = cv2.cvtColor(np.asarray(original_image.copy()), cv2.COLOR_RGB2LAB)
correction = cv2.cvtColor(np.asarray(target_image.copy()), cv2.COLOR_RGB2LAB)
l1 = base_image[:, :, 0]
l2 = correction[:, :, 0]
# Compute the mean and standard deviation of the L channel of each image
mean_l1, std_l1 = np.mean(l1), np.std(l1)
mean_l2, std_l2 = np.mean(l2), np.std(l2)
# Compute the scaling factor between the two images
scale_factor = (std_l2 / std_l1) * ((mean_l2 - mean_l1) / mean_l1)
return scale_factordef apply_gamma_correction(
self,
original_image: Image.Image,
gamma: float,
index: int
):
image_values = np.asarray(original_image.copy())
corrected_array = exposure.adjust_gamma(image_values, gamma=gamma, gain=1)
image = Image.fromarray(corrected_array.astype("uint8"))
return imageAll of the image manipulation was done using some common python libraries for image manipulation; PIL and skimage. With help from numpy for dealing with some of the maths.
There is a bunch more code involved in orchestrating the whole loop and passing the images around, saving output and so on, but I don't want this to get too code heavy.
The final step of the video process was to take the frames generated from the main loop and increase the frame rate from 10fps up to 60fps, which really helps to settle down the changes between generated frames. This interpolation is done with another AI algorithm called RIFE, which fills in the additional frames. While I could have built in this final step to my plugin directly, I never actually did as I found a piece of software called FlowFrames that would run RIFE without any additional scripting.